Travel Photography Tips That Do Not Require Expensive Gear
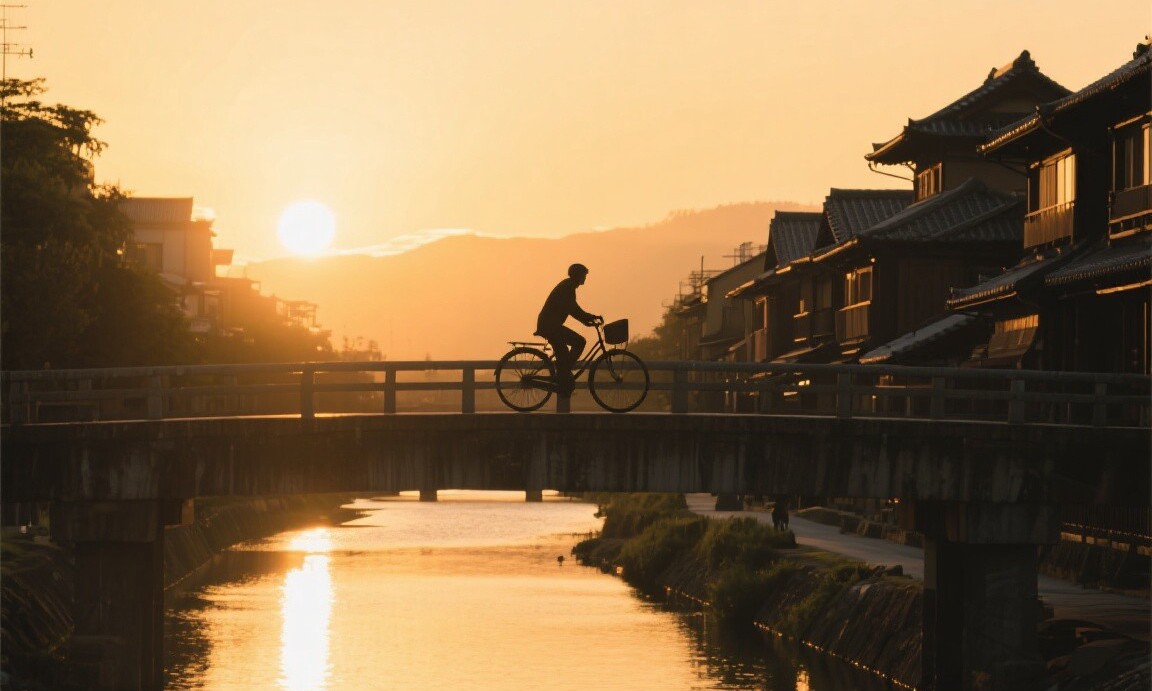
A man on a bridge in Kyoto stopped me and pointed at my phone. "You are taking photos with that?" he asked, holding up a Canon EOS R5 with a 24-70mm lens that c...
A man on a bridge in Kyoto stopped me and pointed at my phone. "You are taking photos with that?" he asked, holding up a Canon EOS R5 with a 24-70mm lens that cost more than my car. I showed him the photo I had just taken of the Kamo River at sunset, the water reflecting the orange sky and the silhouette of a cyclist on the bridge. He looked at it, looked at his camera, and said, "That is better than anything I have taken today." He was being generous, but he was not entirely wrong. The iPhone in my pocket had taken a photo that a $4,000 camera would have struggled to improve upon.
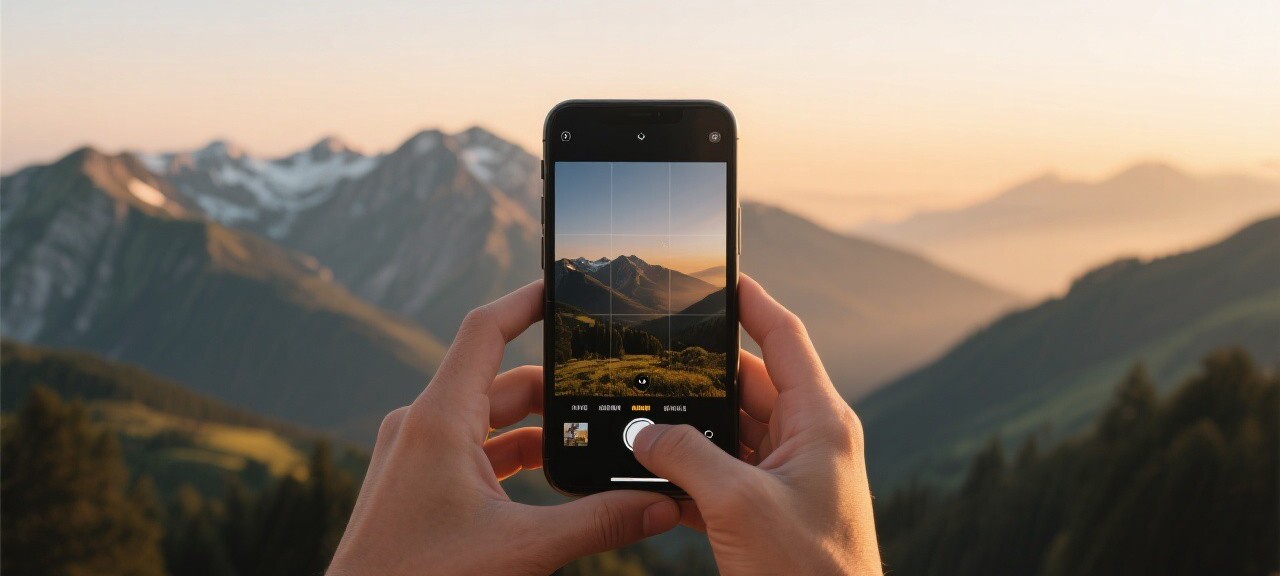
I have been taking travel photos exclusively with my iPhone for four years, and my photos have been published in three travel magazines and used on two book covers. The gear does not matter as much as most people think. What matters is light, composition, timing, and the willingness to wait for the right moment. Here are the techniques I use to get professional-quality travel photos with a phone.
Light and Timing
The single most important factor in any photograph is light. The best light for travel photography occurs during the two "golden hours": the hour after sunrise and the hour before sunset. During these times, the light is warm, soft, and directional, creating long shadows and a golden glow that makes everything look better. I wake up early specifically for this light. In Cappadocia, I was at the viewpoint overlooking the fairy chimneys at 5:45 AM, an hour before the hot air balloons launched. The pre-dawn light painted the rock formations in shades of pink and purple that disappeared within 30 minutes of sunrise.
Midday light is the enemy of good photography. The sun is directly overhead, creating harsh shadows and washing out colors. I avoid shooting between 11 AM and 3 PM whenever possible. If I must shoot during midday, I look for shade. A subject standing under a tree, in a doorway, or beneath an awning gets soft, even light that is far more flattering than direct sunlight. In Marrakech, I photographed a merchant in the medina by positioning him in the doorway of his shop while the harsh midday sun illuminated the street behind him. The contrast between the cool shade and the bright street created a natural spotlight effect.
Overcast days are actually great for photography. Clouds act as a giant diffuser, softening the light and eliminating harsh shadows. Portraits, food photos, and street scenes all look better on cloudy days than in direct sun. I was in Hoi An during a rainstorm and took some of my best photos of the ancient town, with wet streets reflecting the colorful lanterns and soft gray light giving everything a painterly quality.
Composition and Phone-Specific Techniques
The rule of thirds is the most basic composition principle, and it works. Place your subject off-center, at one of the four intersection points created by dividing the frame into thirds horizontally and vertically. On an iPhone, you can turn on the grid overlay in Settings > Camera > Grid. I keep this on permanently. It is not a rule that must be followed every time, but it is a reliable starting point for composing a shot.
Leading lines are another powerful technique. Any line in the frame, a road, a river, a row of trees, a hallway, that draws the viewer's eye toward the subject creates depth and visual interest. In Lisbon, I photographed the Rua Augusta Arch by standing at the far end of the street and using the converging lines of the buildings to draw the eye toward the arch. The photo looks three-dimensional even though it was taken on a flat phone screen.
For phone-specific techniques, I use the iPhone's Night Mode for low-light situations. It works by taking multiple exposures over several seconds and combining them. In the absence of a tripod, I brace my phone against a wall, a railing, or even a glass of water to keep it steady. The resulting photos are remarkably sharp and detailed, far beyond what a phone camera could produce a few years ago. I also use the "2x" telephoto lens instead of digital zoom. Digital zoom degrades image quality, while the 2x lens on newer iPhones is an actual optical lens that maintains sharpness.
Editing is the final step, and I use Snapseed, a free app from Google, for all my phone photo editing. I adjust exposure, contrast, and white balance, and I crop to improve composition. I never use heavy filters or artificial effects. The goal is to make the photo look like what my eyes actually saw, not like an Instagram fantasy. My editing takes about 30 seconds per photo and makes a significant difference in the final result.

Good travel photography is not about the camera. It is about seeing. Training yourself to notice light, to find interesting compositions, and to wait for the decisive moment will improve your photos more than any equipment upgrade. I have stood next to photographers with $5,000 setups who were shooting the same scene I was, and the difference in our photos came down to where we stood and when we pressed the shutter, not what we pressed it with. Your phone is enough. Now go find the light.
Former airline analyst turned travel deal hunter. Tom knows every trick to find the cheapest flights and hotels.
Related Reading
Explore more articles on this topic from our travel guides and tips.
-
1
Exploring Peru on a Budget: Lima, Cusco, and the Sacred Valley Destination Guides · Apr 23, 2026
-
2
How to Travel Full-Time on Less Than $1500 a Month Budget Travel · Apr 2, 2026
-
3
A Budget Guide to the Caucasus: Georgia, Armenia, and Azerbaijan Destination Guides · Apr 4, 2026
-
4
Camping While Traveling: The Ultimate Budget Accommodation Hack Budget Travel · Apr 10, 2026